Materials:
- 20-25 grams fine silver metal clay
- water
- ring sizer
- 2 nonstick worksheets
- tape
- roller/brayer
- small knife
- texture plates
- Polishing papers in 400-8000 grit
- sanding pads from medium to ultra-fine (80-1000 grit)
- brass-wire brush
- rubber block (Optional)
- flat-nose pliers
Creating the Metal Clay Ring Band
- Using the ring sizer, size the finger intended to wear the ring. Increase this size by 1-1/2 ring sizes to allow for shrinkage of the ring during firing. Place the appropriate size ring mandrel onto the mandrel rest.
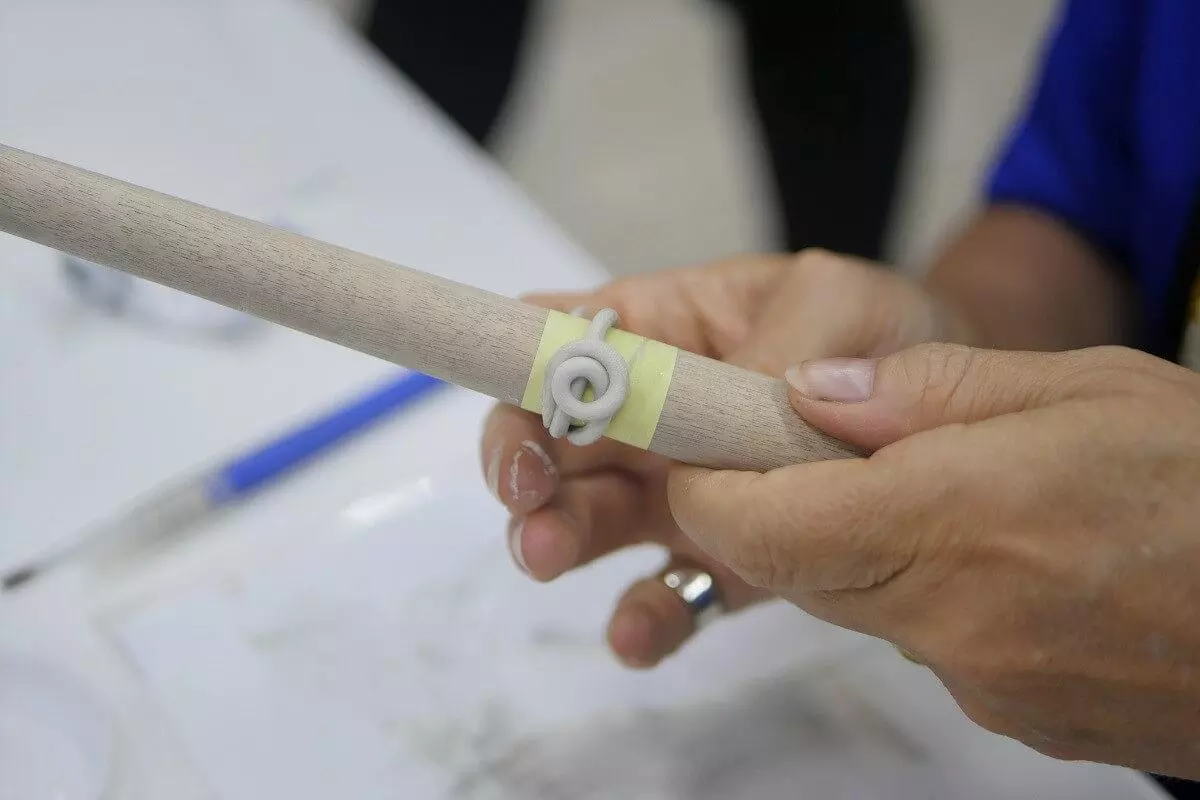
- With scissors, cut a strip of nonstick sheet and wrap it around the ring mandrel (over the appropriate size if using a traditional ring mandrel). Trim the sheet so the ends only slightly overlap. Tape the seam and burnish the tape so it stays in place, forming a tube.
- Lightly oil your hands, roller, work surface, texture, and using caution, a clay blade. Open the package of clay and remove about 10 grams. Roll the clay into a log to help control the shape of the clay as it’s rolled out. Place the log between a 6-card-high thickness guide.
- Using the clay blade, trim the clay so the sides of your metal clay ring are straight and the band is the width you’d like.
- Place the strip of clay onto the nonstick sheet on the ring mandrel.
- Overlap the ends of the clay. While holding the clay blade on an angle, trim the clay, working through both layers.
- Remove the excess clay. Bring the ends of the clay together, seaming them so the angled cuts meet and create a flush connection for your metal clay ring. Using a paint brush, apply water to the seam so the clay bonds together.
- Smooth the seam so it is invisible. Let the ring dry on the mandrel for a short time. Once the ring can hold its shape, carefully remove the nonstick tube from the mandrel. Let the ring dry further. Once the ring seems completely dry, carefully remove the nonstick tube from inside the ring. Usually the ring needs a little more time to dry at this stage; if so, let the ring dry fully before moving on.
- Pinch off about 10 grams of fresh clay and roll it out to a 4-card thickness.
- Transfer the clay to the treated texture. Place the 2-card thickness guide on either side of the clay yet on top of the texture. Place another treated texture on top of the clay, face down. Roll across the surface.
- Carefully transfer the clay, right-side up, onto a Teflon worksheet. Using the clay blade, cut out the shape for the top of your ring.
- Transfer the shape to the mold face down on the outside of the mold. Allow to dry.
- To create a flat edge on the band, place the ring onto a 320-grit sanding pad and move it along the surface in a figure-eight motion. Reverse the pattern. Repeat for the other side of the band.
- Using a progression of the sanding pads and polishing papers, refine the surface of the ring until it is round and smooth on the inside and the outside.
- Refine all areas of the ring and ensure all the joins are clean, smooth, and seamless.
- Place vermiculite into a kiln-safe container, like a crucible. Place the ring into the bed of vermiculite so the curve of the ring top is supported and so the ring band is supported. Ramp the kiln at full speed to 1650-degrees F; hold for 2 hours then allow the kiln to cool to room temperature.
- If the band is not round, place it onto a steel mandrel and tap gently with a rawhide mallet to reshape. Flip the ring over and tap the band again so you have equal movement from each direction.
- Use a brass wire brush to burnish the surface of the ring. If desired, tumble the ring in the tumbler along with stainless steel shot and burnishing solution.
- Using two pair of flat nose pliers, open a jump ring. Pass the open ring through the Swarovski XILION disk pendant and the loop of the up-eye; close the jump ring. Repeat, adding as many disk pendants as you would like.
Creating the Textured Top
Forming the Ring Band
Video(5 minute):

From Refining to Firing to Finishing
You can purchase Metal Clay Product from www.artclay.asia. They are the authorized distributor of many Art Clay products in Singapore, Malaysia, Indonesia and Thailand
Have fun expanding on the techniques outlined in this metal clay ring design.Tanja M. Sadow G.J.G.
Dean and founder of the Jewellery Design and Management International School