Filigree is a jewellery-making technique that dates back to the ancient Greeks. It is a type of metal work that involves tiny beads and thin wires that are intricately arranged in motifs or designs that evoke the quality of lace. It is a challenging but rewarding style that is enjoyed by many around the world today.
Stone setting is an essential aspect of jewellery making, in which gemstones are securely attached to a piece of jewellery. Beyond its basic function of holding a gemstone in place, stone setting is an art form that involves the consideration of the overall aesthetic of the jewellery design. Jewellery settings also show off the beauty of gemstones and enhance the elegance of the jewellery piece.
Stone setting has a rich history that goes back through the ages, and encompasses so many different types of jewellery setting such as prong setting, bezel setting, pavé setting, and flush setting, just to name a few.
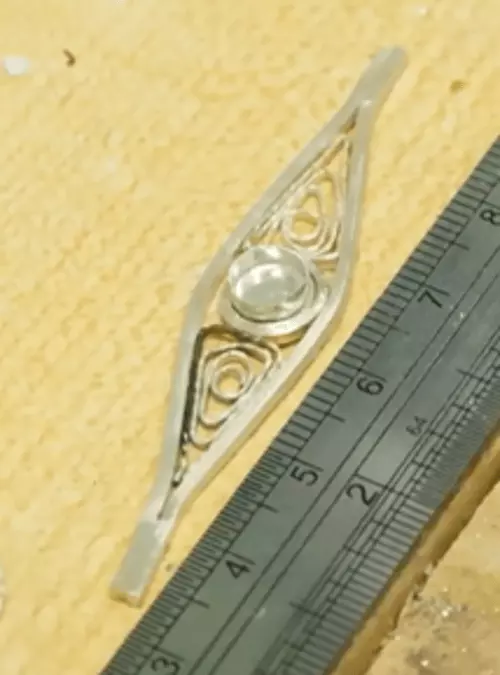
Here, we have a beautiful ring that features a bezel-set cabochon Sapphire that is complemented by delicate filigree on each side.
The bezel setting is a simple stone setting technique that has its roots in the ancient worlds and is still widely used in modern times.
The gemstone is held in place by a bezel, which is a rim of precious metal that encircles the outline of the stone. Though commonly used for cabochon gemstones, this is a secure setting that also works well on faceted gemstones and stones of any size or shape.
In this tutorial, we will walk you through how this ring was made, from creating the structure of the ring from scratch, to making the filigree designs, and finally the setting of the Sapphire into the bezel.
| Materials you will need | Tools you will need | |
|---|---|---|
|
|
|
|
|
|
|
|
|
|
|
|
|
|
|
|
|
|
|
|
|
|
|
|
|
|
|
|
|
|
|
|
|
|
|
|
|
|
|
|
|
|
|
|
Forming the frame for the ring
We’ll start off by preparing the square wires needed to make the frame of the ring.
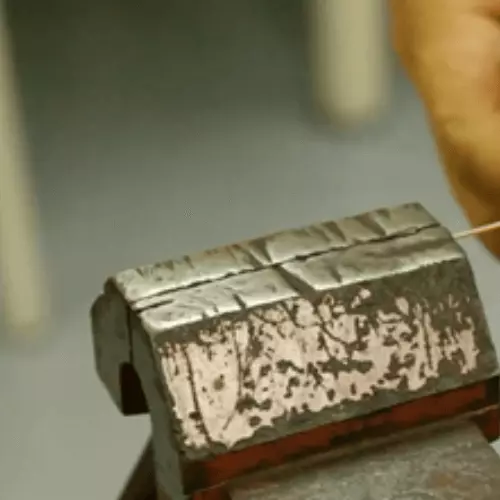
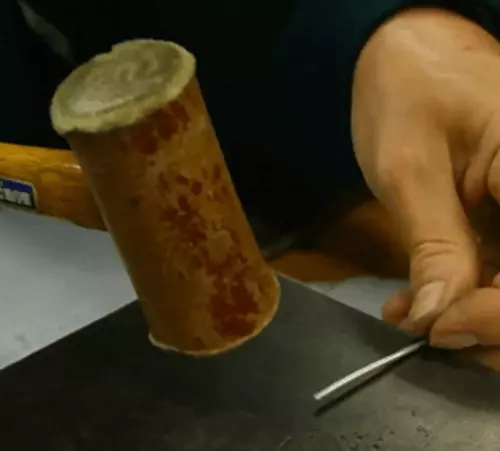 1.Using your hammer, straighten the round wires (as they need to be passed through the rolling mill to create the square shape).
 2.Anneal the straightened wires so that they become soft and malleable. Pickle and clean them before rolling.
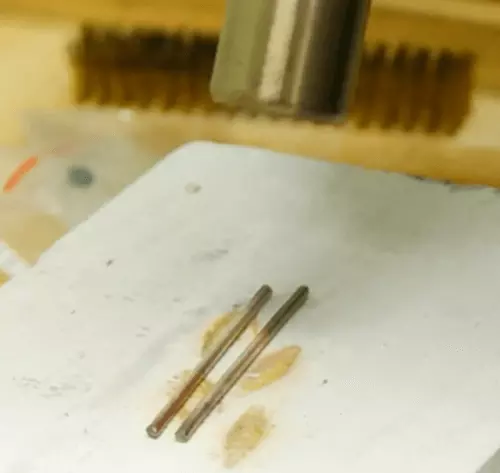
 3. Pass the cleaned wires through the rolling mill to produce square wires of the thickness desired.
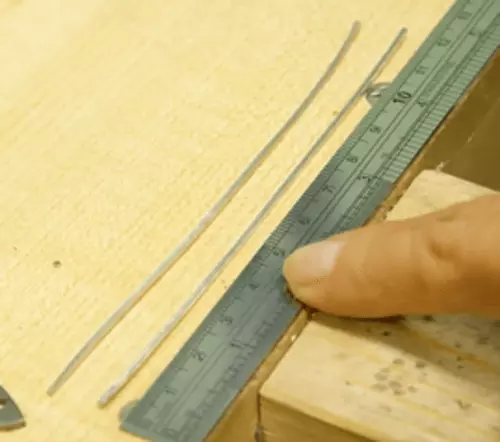 4. With the help of a ring chart and a wire gauge, determine the length of wire you need, depending on the ring size you wish to achieve. Mark the measurement onto both pieces of your square wire and saw the excess off.
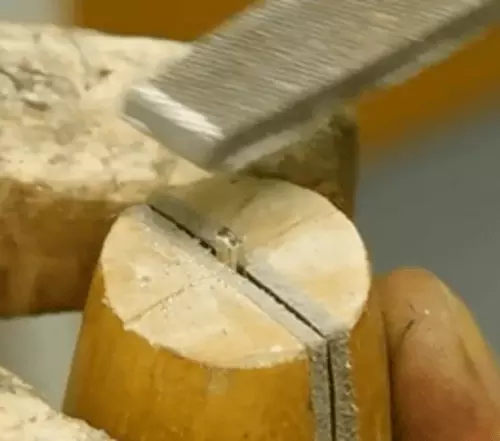 5. Put the two wires together, aligned exactly, into a ring clamp. File the ends of the wires to so that they are smooth and flat.
Now that the two square wires are ready, we’ll form and shape the frame for the ring.
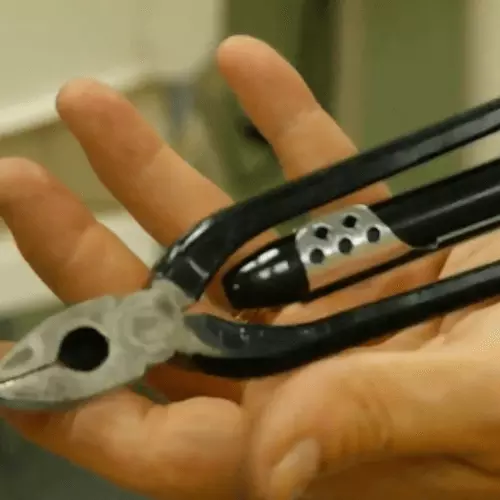
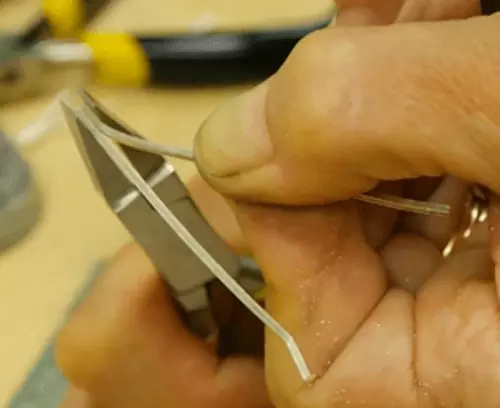 6. With a flat nose plier, hold the two wires securely together at one end. Peel the wires back in opposite directions, such that they separate.
 7. Gently round the centre of both wires so that the ends of the wires meet-up again, creating a space in which to hold the filigree design. Note: If at any point your metal wires become hard to shape and work with, anneal them again.
Now we are ready to fuse the wires together to form the frame
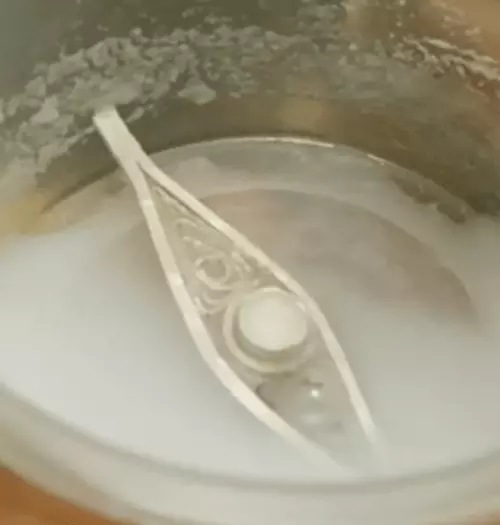
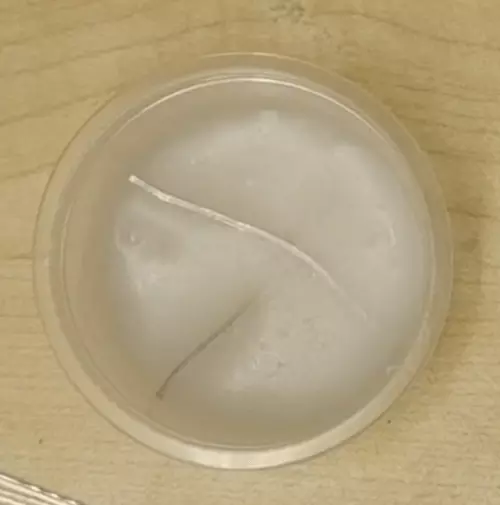 8. Put the two wires into the flux, which helps the solder to flow
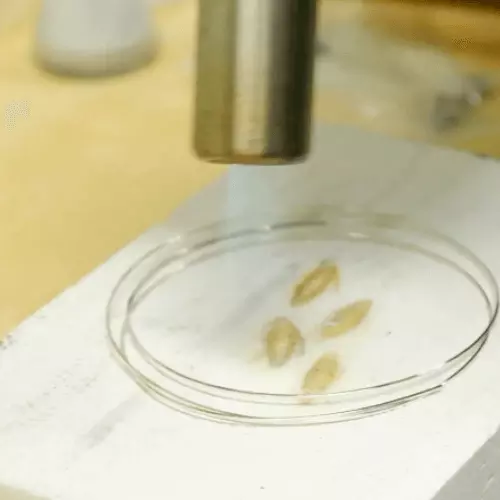
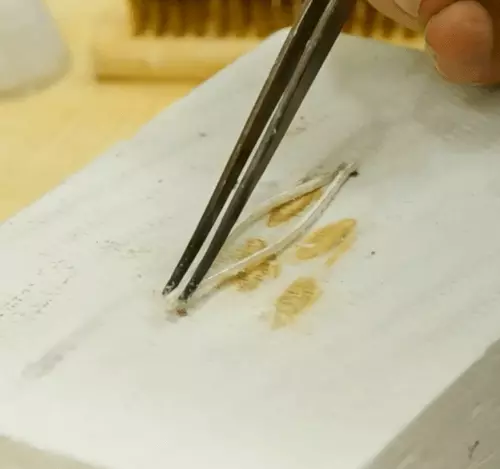 9. Place the wires on the ceramic brick, making sure that their ends are touching. Then, place each piece of solder directly underneath the joined areas.
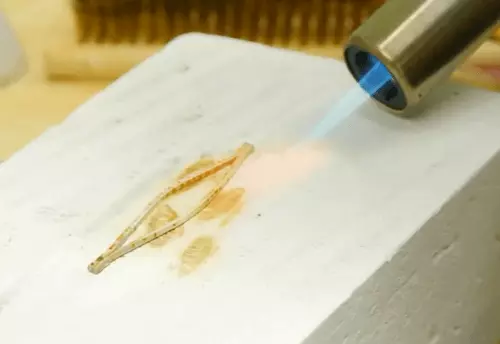 10. Heat the piece with your torch. The solder will melt and fuse the two pieces together. Cool the soldered piece in a bowl of water, then pickle and clean the piece to prepare it for use later.
-
Prepare the bezel setting
We’ll first form a small ring that will sit in the centre of the frame we just created, which provides a base on which the bezel will be supported
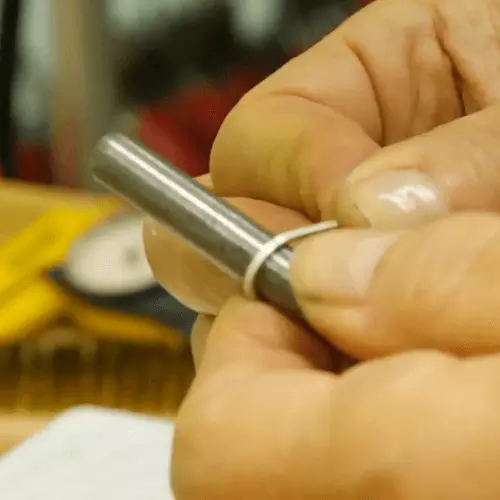 11. To create this small ring, take another piece of square wire and wrap it tightly around a round steel tool of the appropriate size.

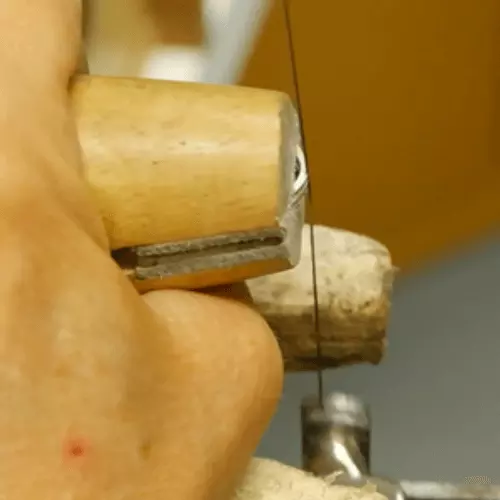 12. With the help of a gripping tool or a ring clamp to hold the wrapped wire in place, saw through the overlap to produce a ring.
Now, we’re ready to solder the bezel onto its base
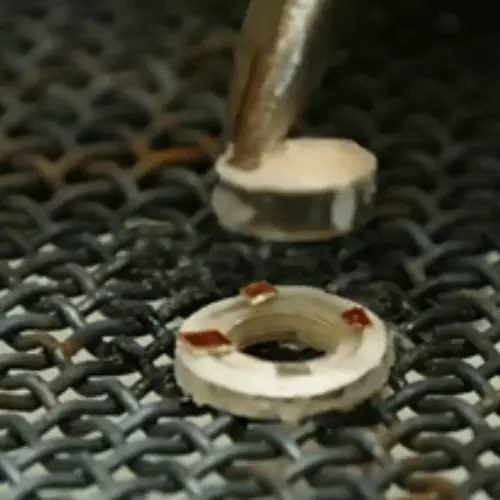
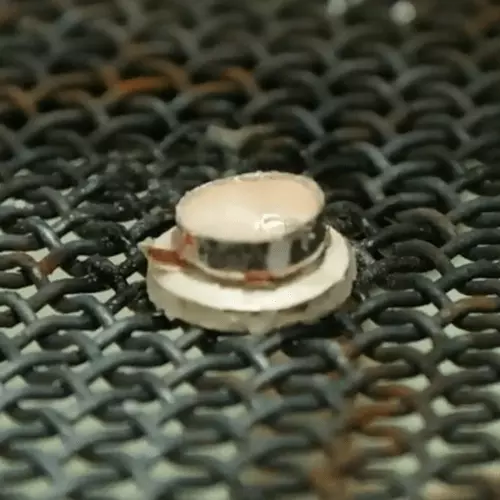 13. Place a pallion of solder where the ends of the small ring meet. Place a few more pallions around the base and place the bezel in the centre of the base, directly onto the pallions.
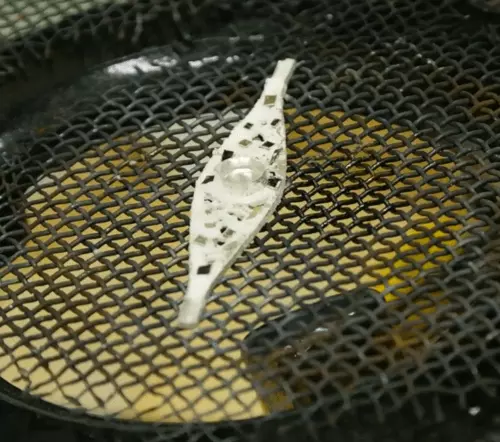
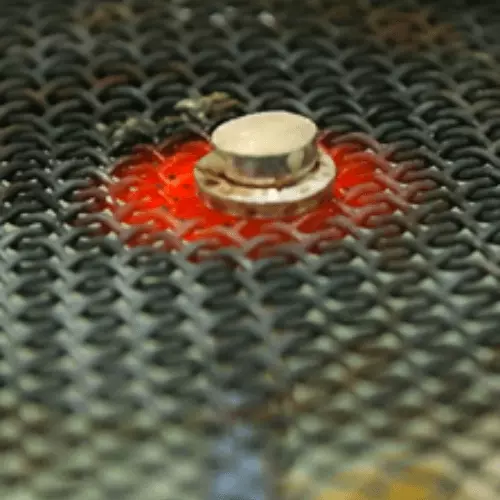 14. Place all the pieces onto a tripod with a steel mesh, and with the torch, apply heat from the bottom of the mesh. (Applying heat from the bottom, as opposed to the top, will prevent the thin bezel from overheating and melting). Once the piece is soldered, cool it in a bowl of water before pickling and cleaning it.
Making the filigree pieces
Let’s start by preparing the thin wires needed for shaping the filigree design
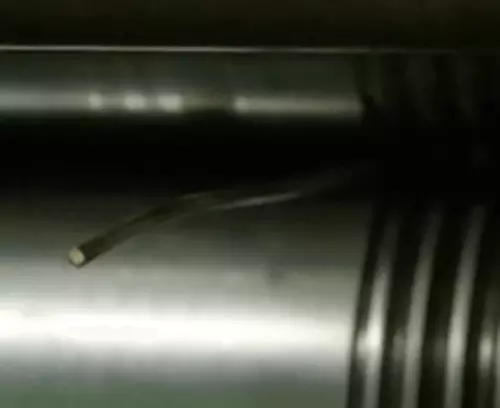
 15. Anneal the thin square wire so that it will be easier to twist
 16. Grip one end of the fine square wire in a clamp to firmly secure it. Straighten the length of the wire and place the other end into a wire twisting tool to create a twisted shape to the wire
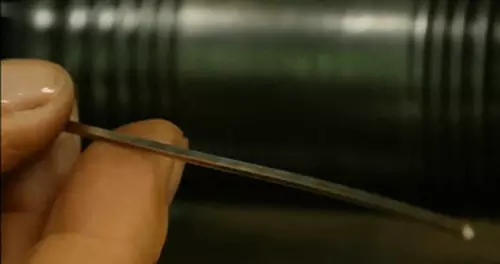
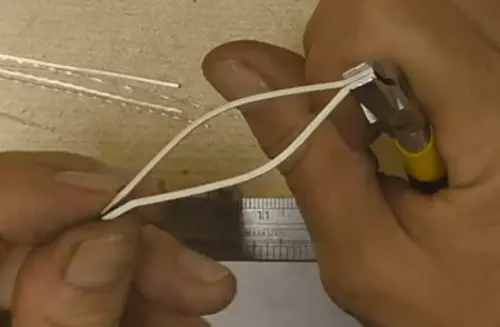
 17. Cut the long-twisted wire into shorter pieces of equal length and anneal them again to prepare them for the next step.
Now, it’s time to shape the filigree pieces!
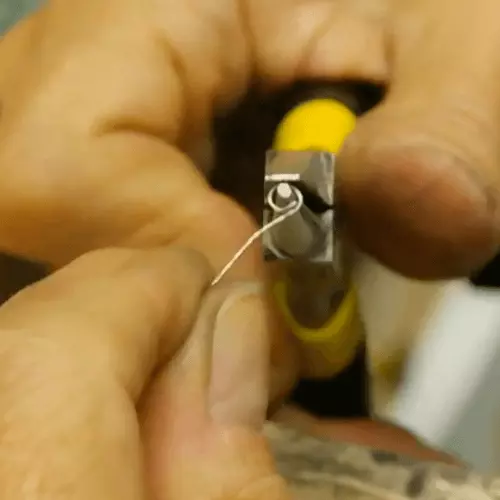
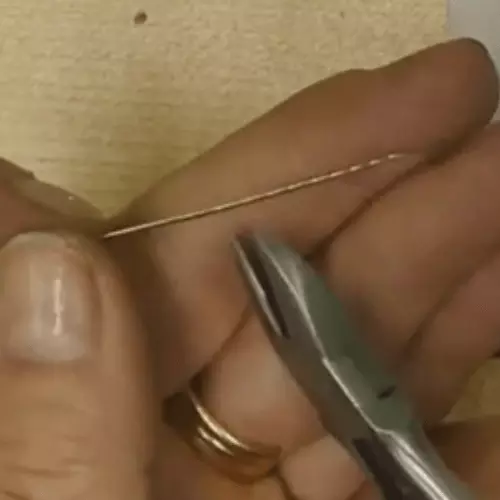
 18. Take a piece of wire and grip one end with the round side of the plier. Create a small loop by twisting with the plier.
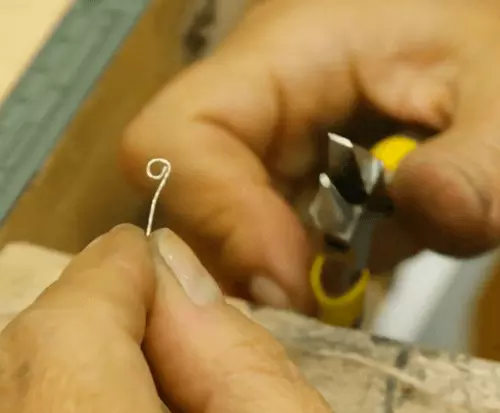
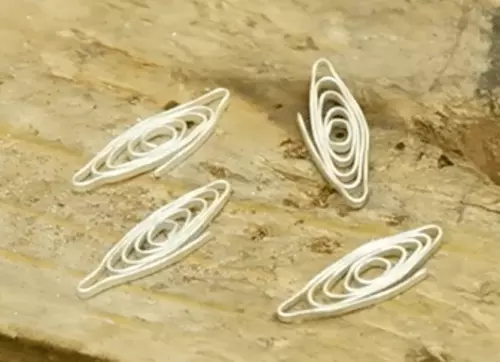 19. Little by little, loosely wrap and shape the thin wires into a spiral pattern. Try to make each little piece similar or matching.
Assembling the components of the ring
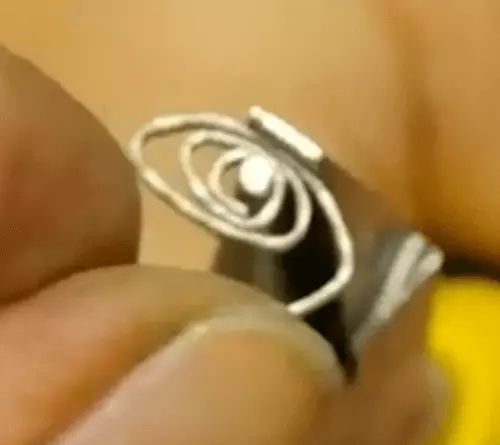
 20. Fit the filigree pieces into each end of the ring frame, leaving enough space for the bezel piece to fit snugly in the middle.
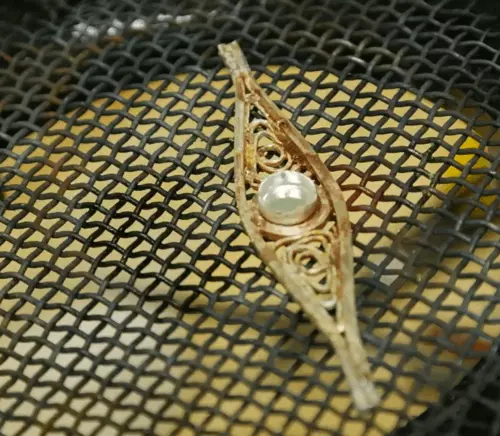 21. Make sure that the assembled piece is well covered with flux before placing it on the tripod with steel mesh. Place pillions of solder all over the piece where wires need to be fused together. Again, with your torch, apply heat from the bottom of the mesh so as to draw the solder through to the inside of the filigree and frame parts. Cool the soldered piece in a bowl of water, then pickle and clean it
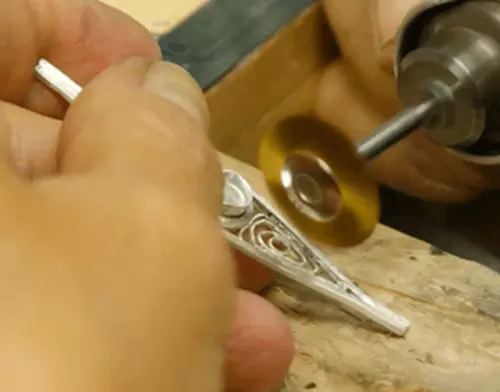
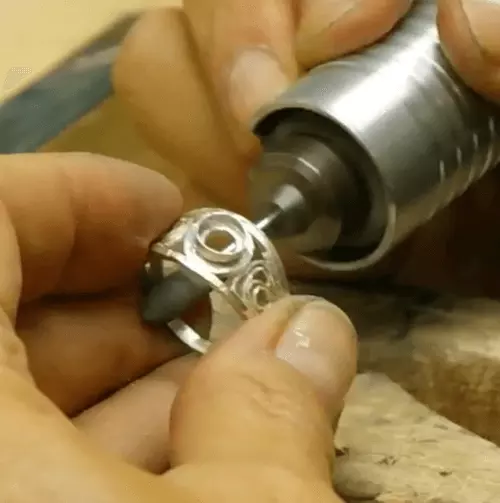
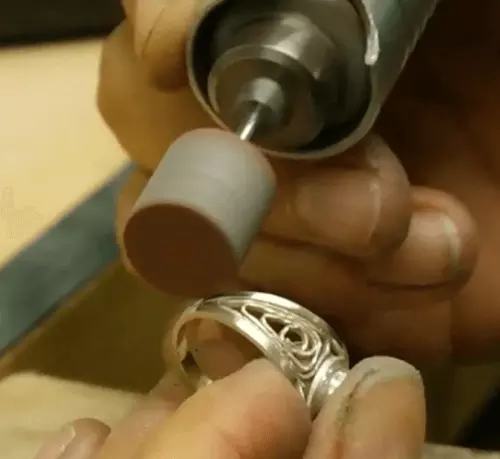
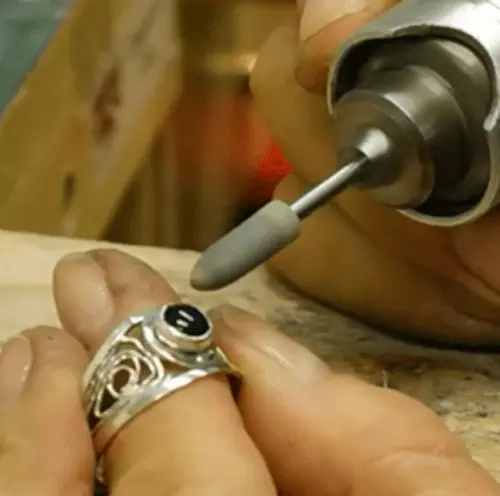
 22.Clean up by ring frame by first sanding the whole piece. Then, use a bristle brush to clean the little nooks and crannies of the piece, and finally use silicon tips to smooth the surface of the piece.
It’s now time to shape our piece into a ring!
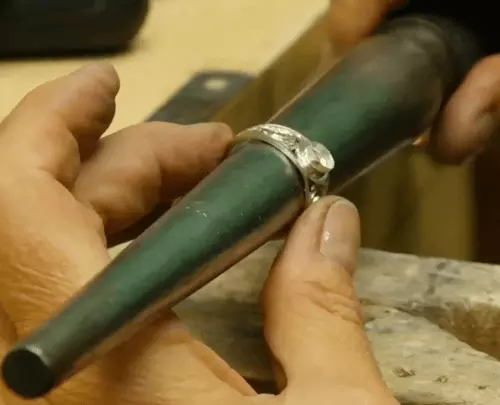 23. Wrap the polished piece around a ring mandrel and hammer to get it into the shape and size of the ring we want. Ensure the two ends come together perfectly.
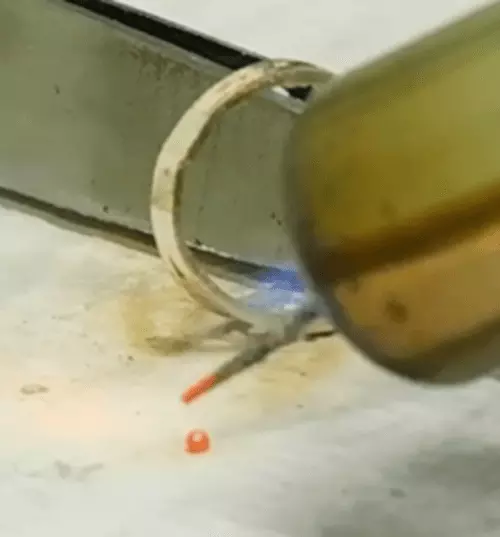
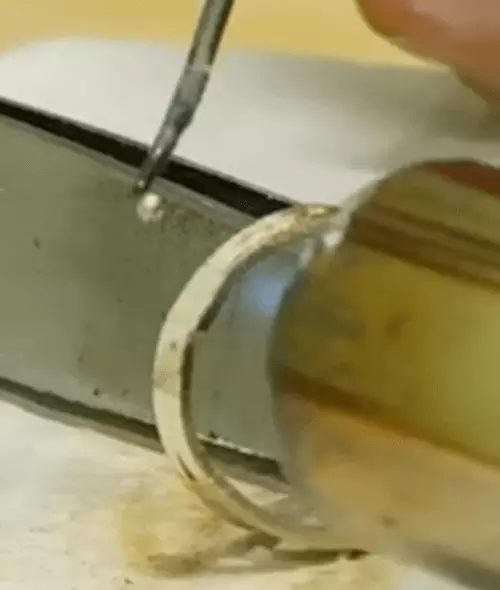 24.Fuse the ring shank by pick soldering. After heating the ring shank and the solder, move the solder to the spot where the two ends of the ring come together and watch the bonding.
 25. Once the ring shank is soldered and cleaned, the finishing touches can be applied. Re- round the ring on the ring mandrel tapping it carefully with the rawhide hammer. Then, file the ring shank to clean up any remaining solder, and sandpaper then polishto a high mirror finish.
Finally, setting the sapphire into the bezel!
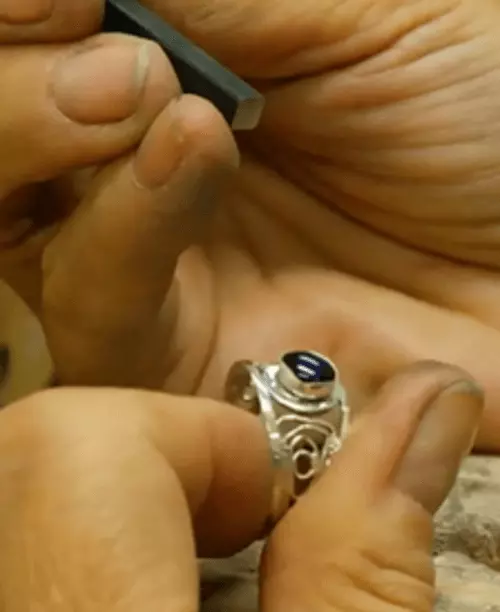
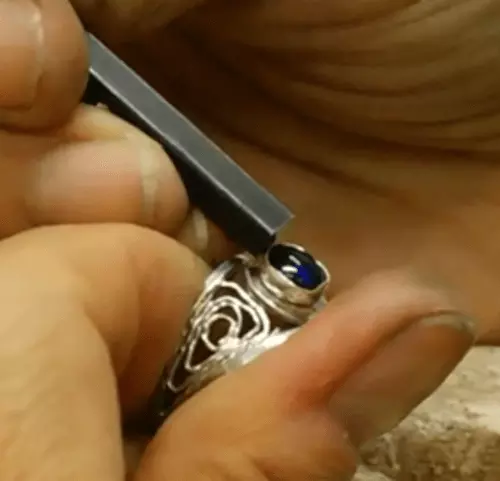 26. Place the gemstone into the bezel setting. With a bezel pusher, push the top edge of the bezel down onto the cabochon. Starting from a 12 o’clock position, proceed to the 6 o’clock spot opposite then onto 3 o’clock and then 9 o’clock. Pushing on the bezel a little at a time, until the entire bezel rim is pushed onto and around the gem holding it securely in place.
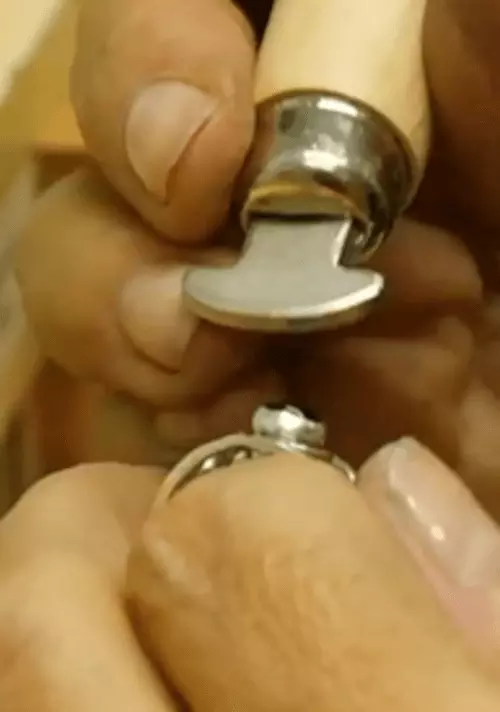
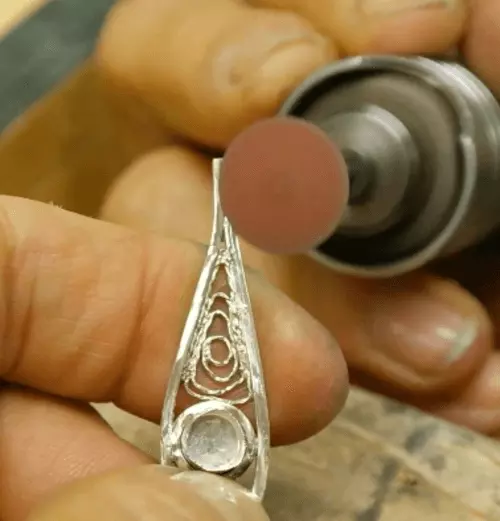
 27. Once you’ve pushed the bezel all the way around the stone, use a bezel roller to smooth the metal onto the stone, removing any lumpy areas of metal. Finally clean up the bezel with a silicon tip to get the metal smooth and shiny and polished!
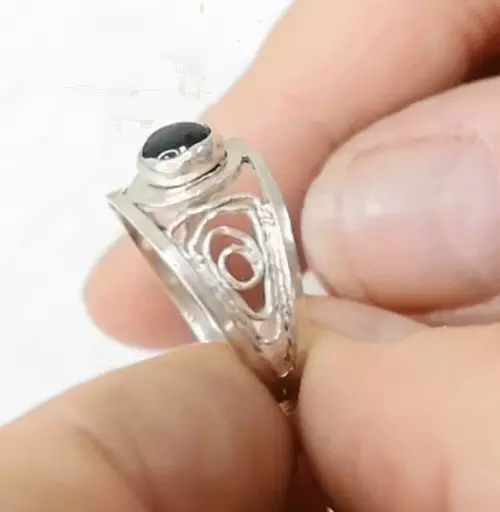
Your filigree ring with a bezel set sapphire is now finished and ready to wear!
To watch a step-by-step video instruction, Click here
This technique is part of the JDMIS’ 30-hour Training: Traditional Metalsmiting 2 - Intermediate techniques and basic stone setting. For more info, click here.
About JDMIS
The Jewellery Design and Management International School (JDMIS) is the only educational institution in Singapore to focus exclusively on the jewellery arts and the largest specialized jewellery school in South-East Asia.
JDMIS offers internationally recognized professional certifications, diplomas and advanced diplomas in gemstone knowledge, classical and digital jewellery design, jewellery hand-fabrication using traditional methods and new technologies, fashion jewellery, trends and jewellery business topics. Each course includes all necessary tools and materials such as gems and precious metals (which participants keep and take home after class.)
For more info, please visit https://jdmis.edu.sg